- Start out by having two containers of water. One to keep
the coral in and rinse frags off. Another will be used to dip
them once they are done.
- My tools consist of a dremel tool equipped with a diamond
cut off wheel, a screwdriver, and a pair of safety glasses.
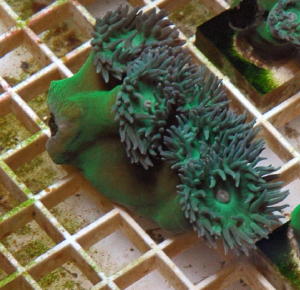
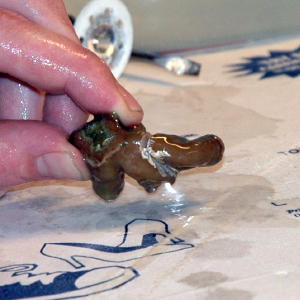
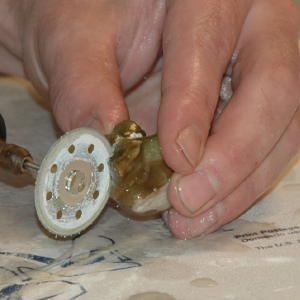
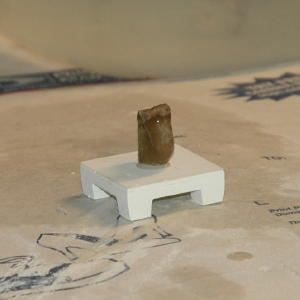
- Here is our subject. As you can see it has healed well
since I last cut it. This duncan colony was the size of a
dinner plate. To much cutting will stress
them. I cut big colonies into sections and after they had time to
recover, I cut them up into frags.
|
 |
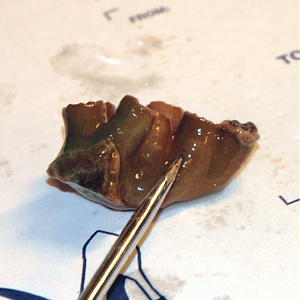
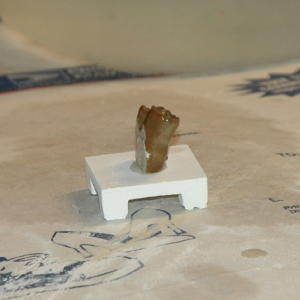
- Before doing any cutting make sure the flesh has receded
back into the skeleton. I am holding the screwdriver
where I intend to make my first score. I don't use the term
cut because I do not want to cut it off, just score lines in
the skeleton where I want the frag to break off.
|
 |
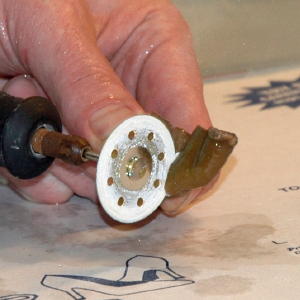
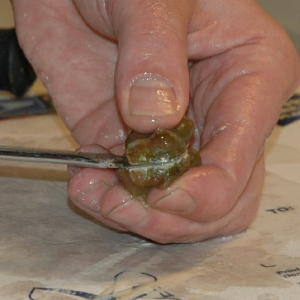
- I start by scoring a line in between the polyps I intend
to separate. I use a slow speed and dip the coral into the
water every time I pause to keep the cut wet. This assists in
the cutting and cools the cut so I don't overheat the coral.
When you are cutting and you see dry powder, its time get it
wet.
|
 |
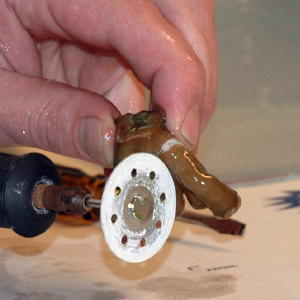
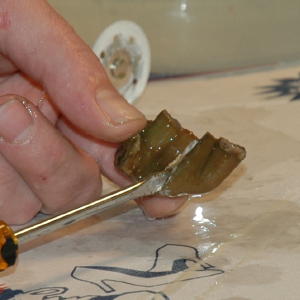
- Here is the score line. I went about half way through. Be
careful that you keep the chuck on the dremel from crashing
into the piece you are working on. Again we don't need to cut
through just guide the break.
|
 |
- Now I flip it over to score a line on the other side.
|
 |
- Here you can see the score lines on both sides and it is
still attached to the main section.
|
 |
- Since I didn't cut all the way through I control when it
separates. Just lightly twist the screwdriver and the frag
should pop off.
|
 |
- Here its apart and in good shape. I will put it back in my
container of water and start working on the next frag.
|
 |
- Here is where I will make my next score.
|
 |
|
|
 |
- Then I work the dremel up in between the polyps. Again,
I'm careful not to crash the coral with the chuck.
|
 |
- Here I flipped it over and scored from the bottom around
to the other side, meeting my last score line.
|
 |
- Time to get out the screwdriver again to pop the frag
loose.
|
 |
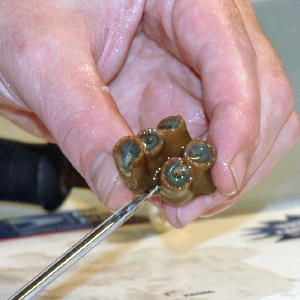
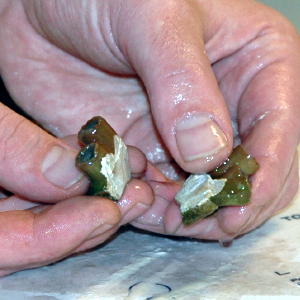
- Here are the frags split and in good shape. Time to glue
them down.
|
 |
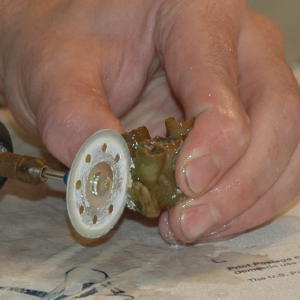
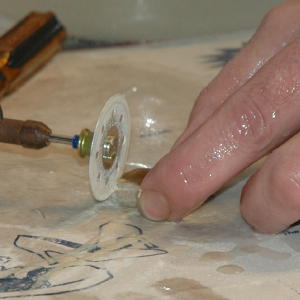
- If the bottom of the frag isn't flat, I use the dremel to
cut a flat surface so it will stand up straight.
|
 |
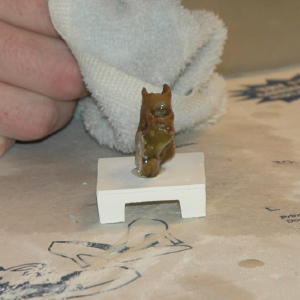
- I put a small drop of gorilla glue on the plug and use a
clean towel to dry the bottom of the frag before placing it.
|
 |
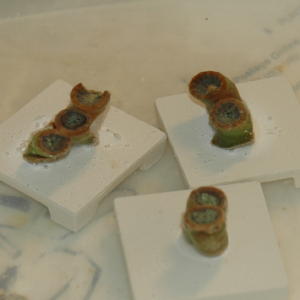
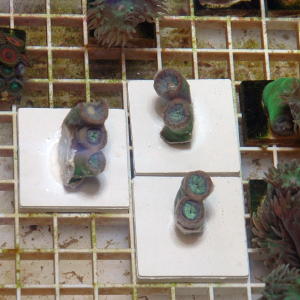
- Here are all three frags placed. I usually let them sit
for a minute so the glue sets up.
|
 |
- Once the glue is setup I put them straight into the iodine
dip and allow them to sit for a few minutes.
|
 |
- Drop them in the tank and your done. Keep good flow on
them and the better the water quality the quicker they heal.
|
 |
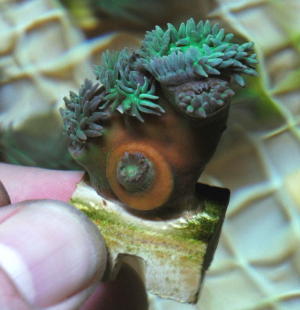
- Here is one that I cut a month ago. You can see that it
has completely healed over its wound and is already sprouting
a new polyp.
- If you have any questions feel free to ask.
|
 |